Place the butter in a medium saucepan over medium heat. Stir occasionally as it melts. As the butter begins to foam and bubble, it will make a crackling sound, this is normal. Keep a close eye on the pan and stir frequently, watching for a color change.
Once the foam starts to rise and you smell a nutty, toasted aroma, immediately remove the pan from the heat, this is the key moment just before the butter burns. Let it rest off the heat for 1 minute.
Carefully transfer the butter into a medium mixing bowl, making sure to include all the golden brown bits at the bottom of the pan. Add the dry milk powder and stir to combine. Next, add one ice cube to the warm butter mixture. Stir until the ice melts completely, this helps bring down the temperature and stabilize the mixture.
You can cool the butter further by either: – Placing the bowl over an ice bath, or – Covering the bowl with plastic wrap and placing it in the fridge for a short time.
Once the butter is no longer hot and has slightly thickened, transfer it to the bowl of a stand mixer. Beat the butter on medium-high speed using the paddle attachment until it becomes fluffy and pale, this usually takes 3 to 5 minutes.
Make the Dough
Add the Sugars: With the stand mixer running on medium speed, add the light brown sugar and granulated sugar to the whipped brown butter. Beat for about 1 minute, until the mixture is smooth and slightly glossy.
Add Eggs and Vanilla: Add the whole egg, then the egg yolk, followed by the vanilla extract. Mix until fully incorporated, scraping down the sides of the bowl as needed. The mixture should look creamy and cohesive.
Combine the Dry Ingredients: In a separate bowl, whisk together the flour, baking soda, and salt until well combined.
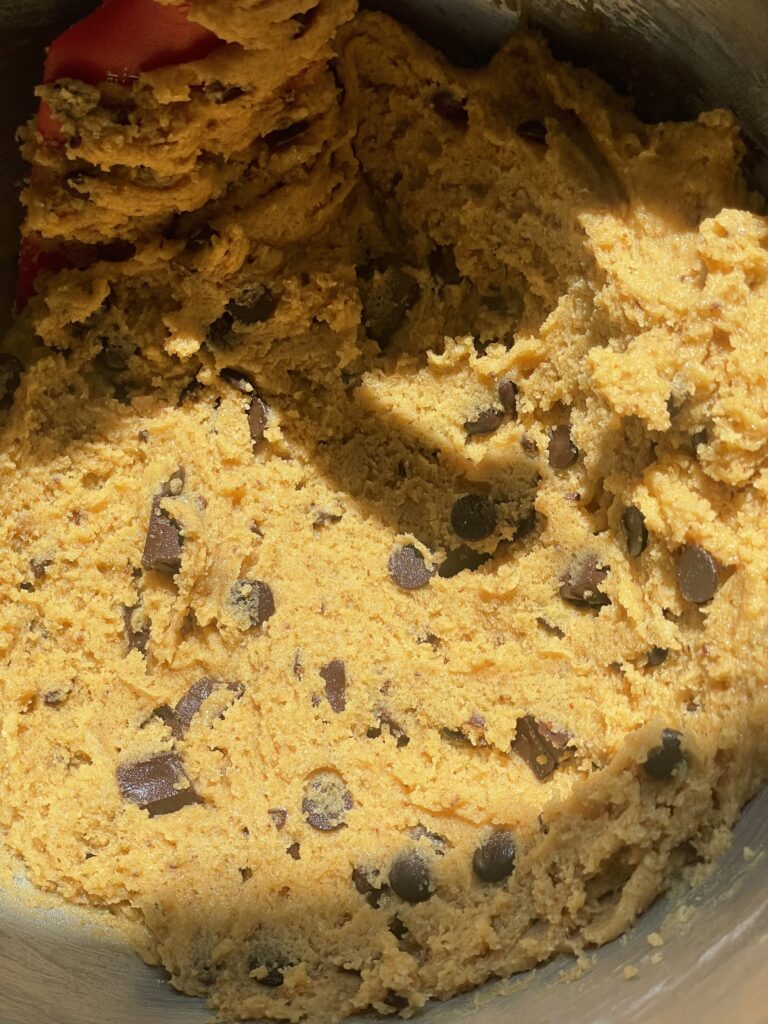
Add Dry to Wet: Add the dry ingredients to the butter mixture in two additions. Mix on low speed or fold by hand using a spatula. Stop mixing when just a few streaks of flour remain — overmixing can toughen the cookies.
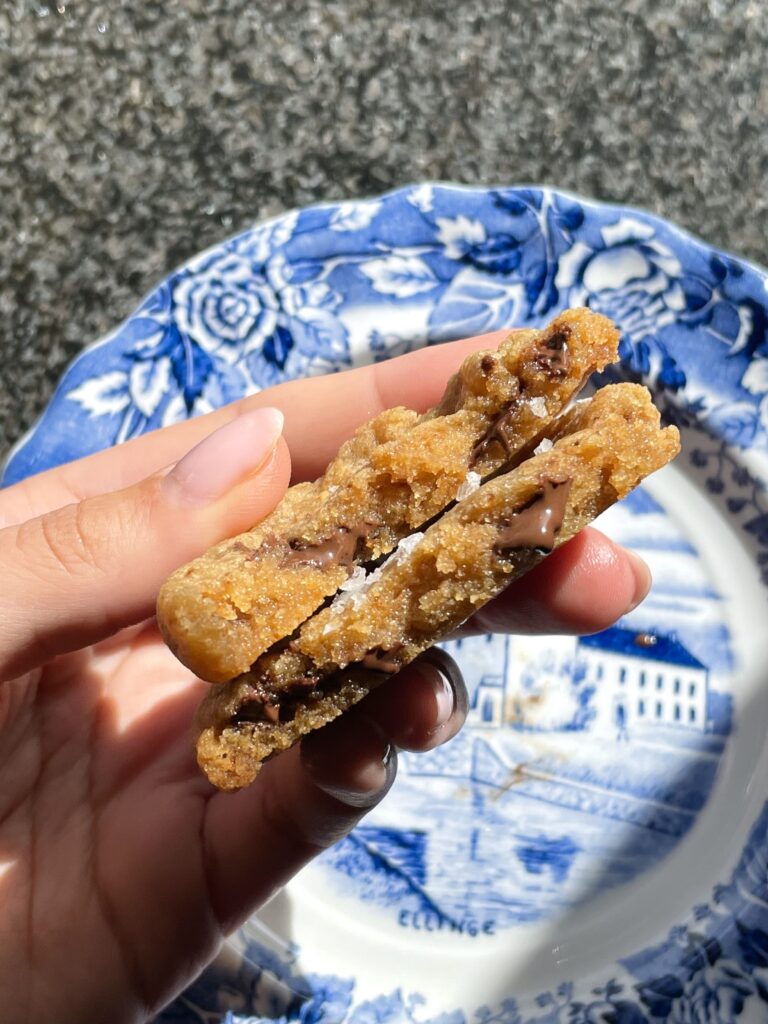
Add the Chocolate: Fold in the chopped chocolate and chocolate chips just until evenly distributed. The dough should be soft and slightly sticky but not wet.
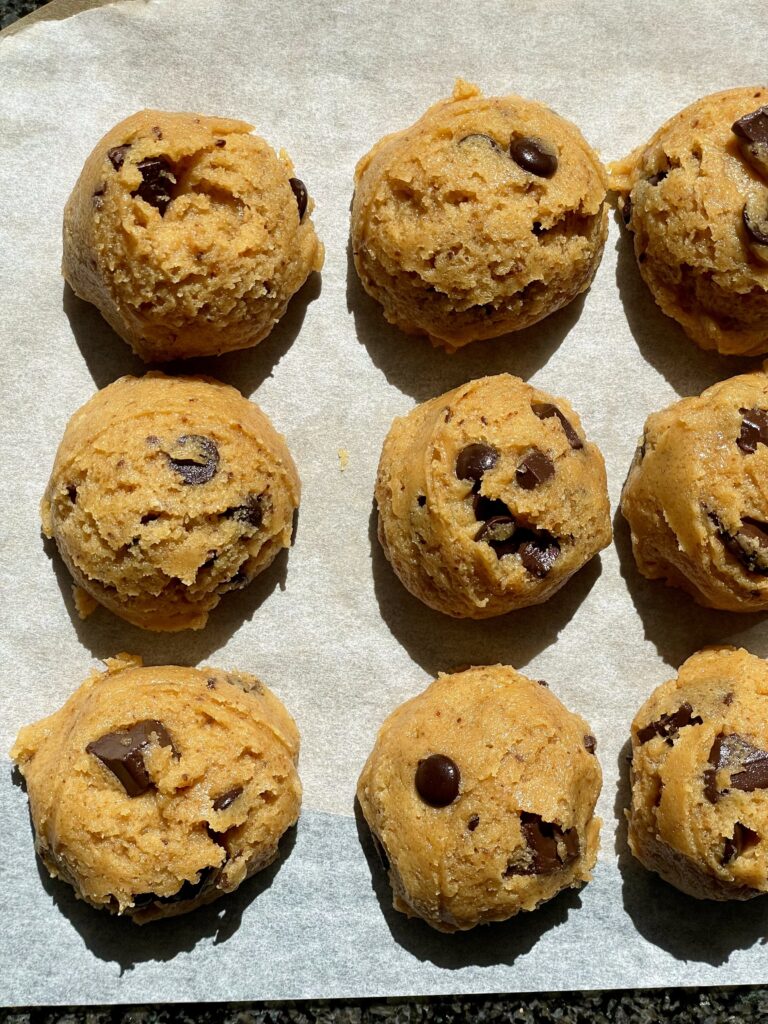
Shape and Chill Use a large cookie scoop or scale to portion the dough into evenly sized balls. Each should be about the size of a golf ball or slightly larger.
Chill the Dough: Place the cookie dough balls on a parchment-lined tray. Cover loosely and chill in the refrigerator for at least 3 hours, or preferably overnight (can be stored in the freezer for up to 2 months). This rest time improves the flavor and helps control spread during baking.
Bake and Finish Preheat your oven to 175°C (350°F). Line a baking sheet with parchment paper.
Bake the Cookies: Arrange the chilled dough balls on the prepared baking sheet, spacing them a few centimeters apart. Bake for 10 to 12 minutes, or until the edges are set and golden but the centers still look slightly underbaked. They will finish setting as they cool.
Shape While Warm (Optional): If desired, use a round cookie cutter or spoon to gently scoot the edges of each cookie into a more perfect circle while they’re still warm and soft.
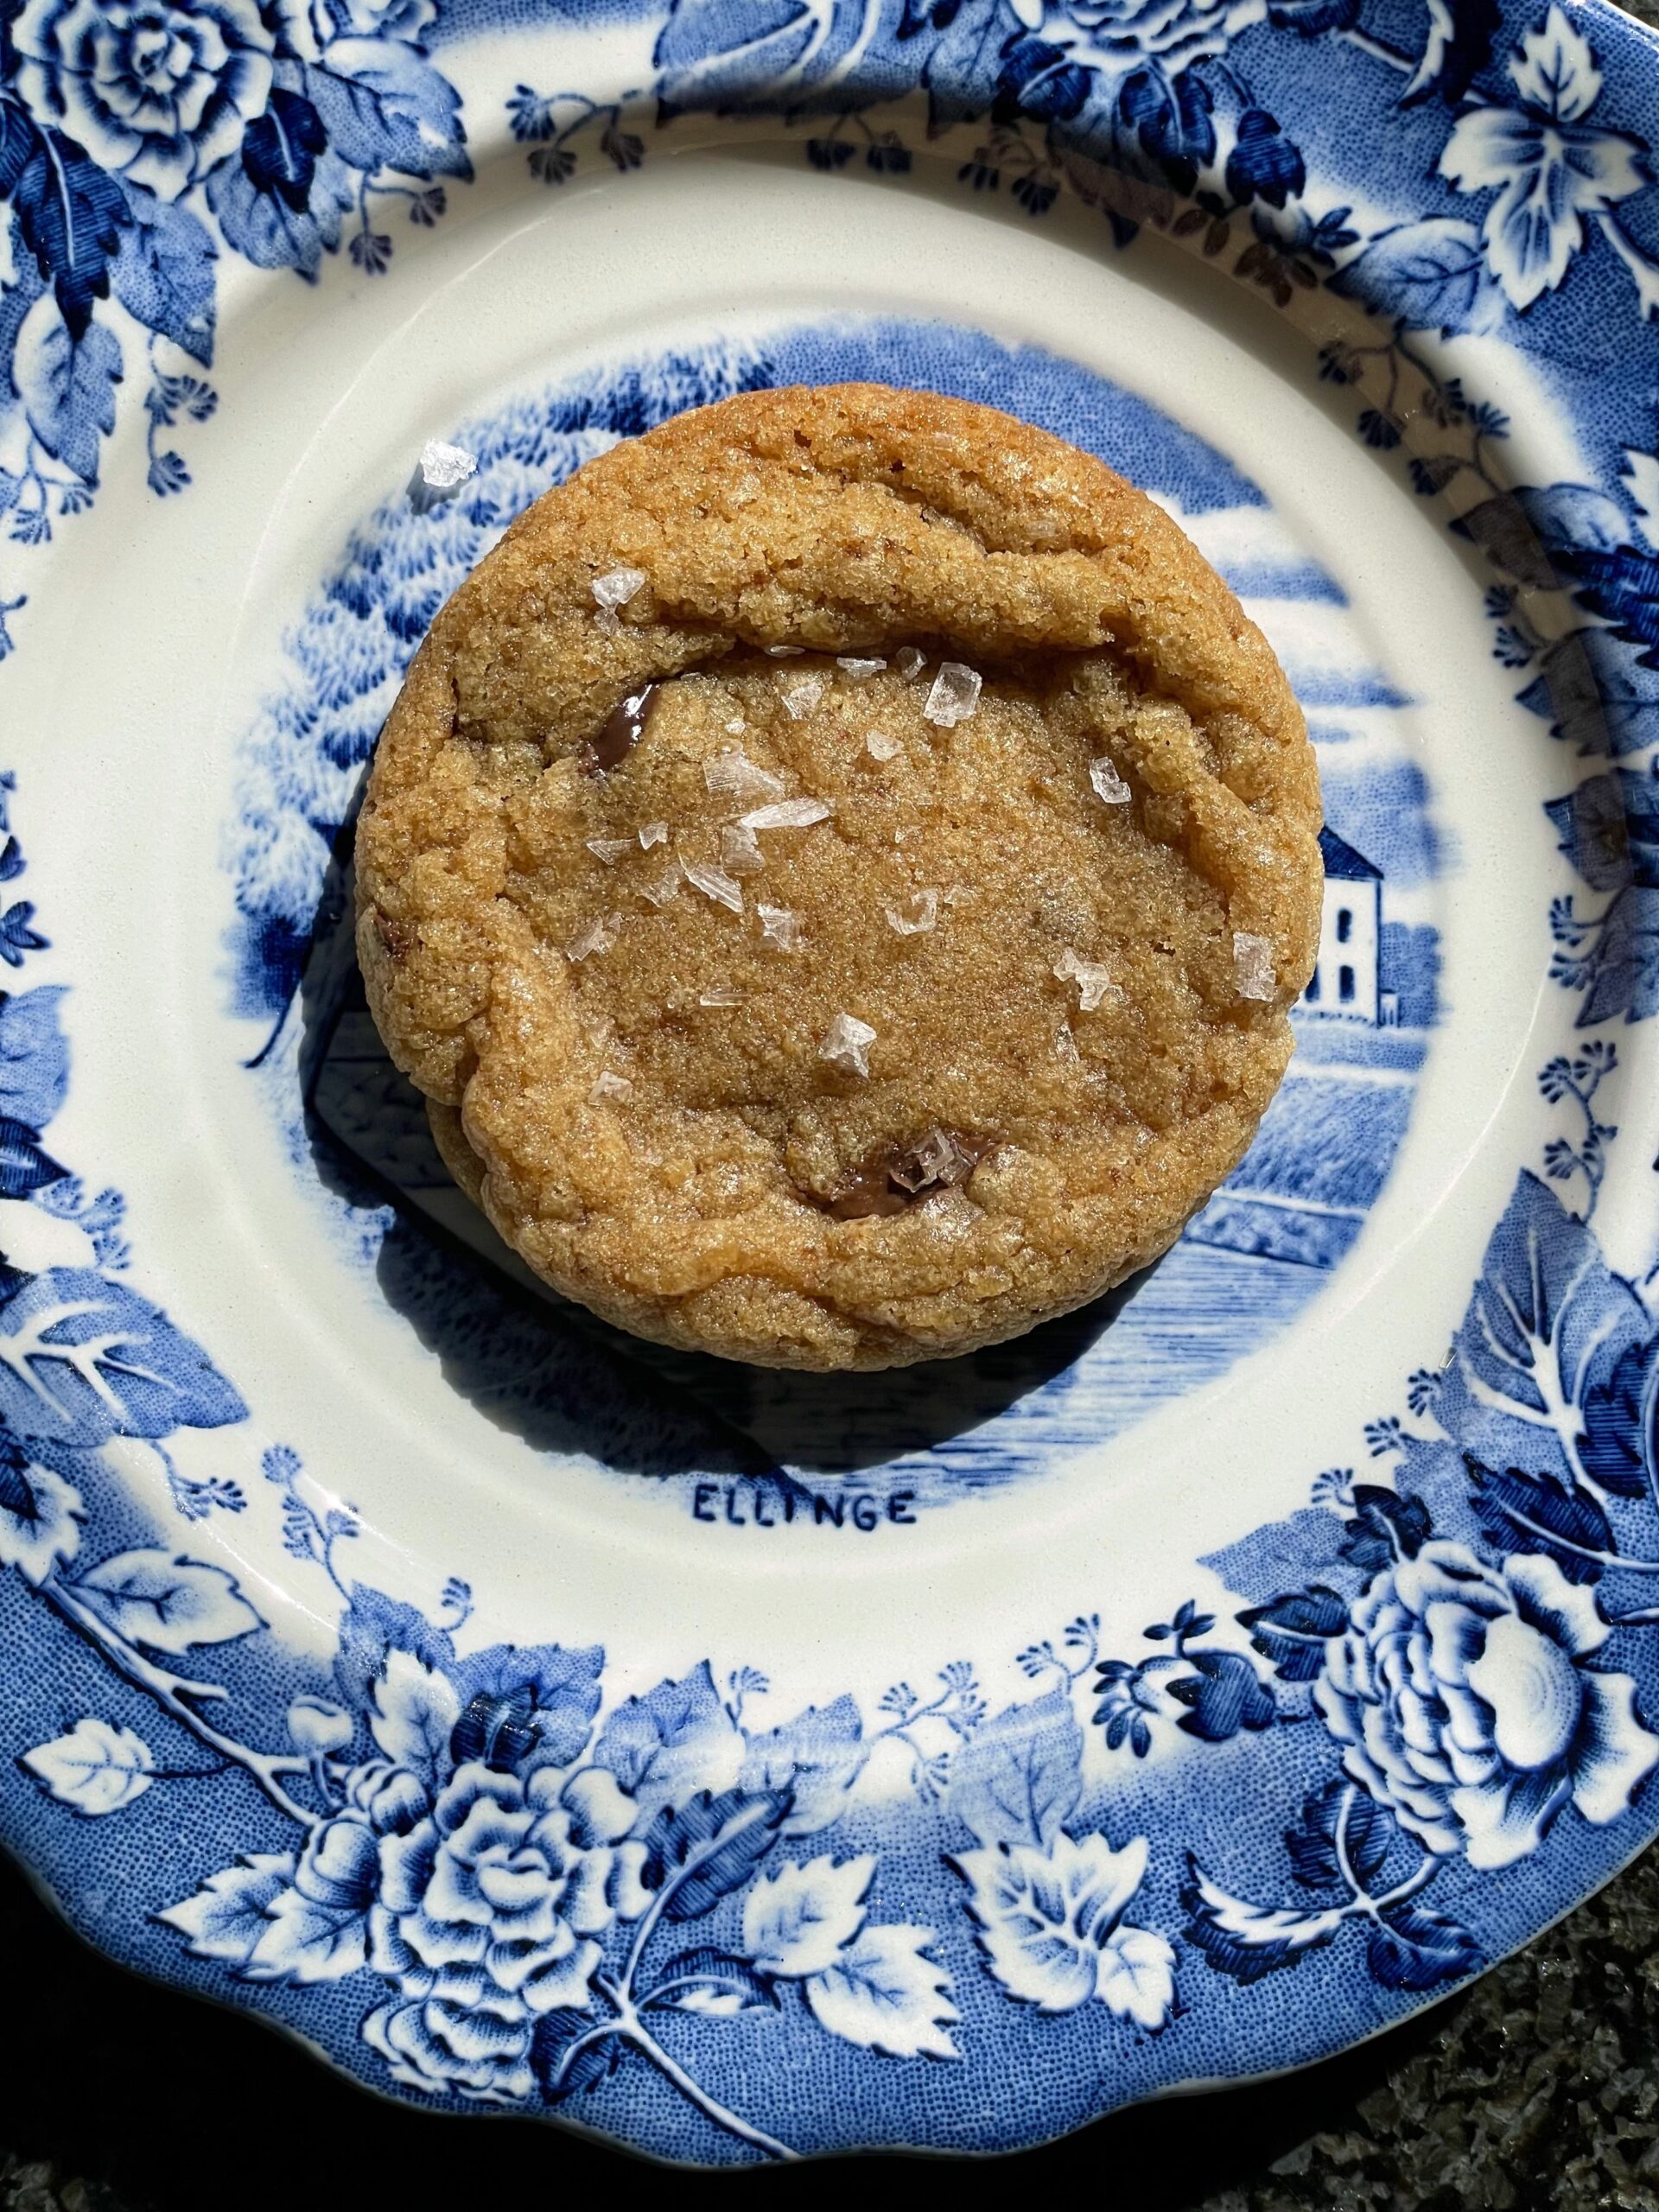
Cool and Finish: Let the cookies cool on the baking sheet for 10 minutes, then transfer to a wire rack to cool completely. Just before serving, sprinkle the tops with flaky sea salt for extra flavor and texture, if desired.